Email Image
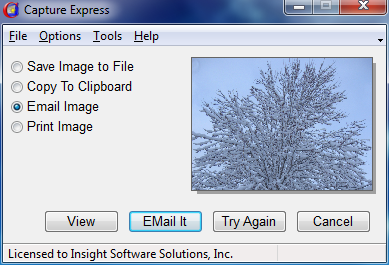
The window below opens when you have completed the initial manual screen capture. This window displays a thumbnail of the captured image and allows you to choose what to do with the image just captured. This image shows the options available when using Email Image.
Displays after manually capturing an image
View
Click on the View button to see an exact copy of what has been captured. This may help decide whether to save the image or try again.
Email It
The Email Image option allows you to send the image you have captured to a friend or associate via email. The image may be sent as a bitmap, gif, jpeg, png or tiff file and appears as a file attachment in the recipient's email. This option requires that you already be connected to the Internet or you will get a message indicating that you are not connected.
In the Email preferences you can select whether to use the built in email client in Capture Express or use your default email program to send the image.
If sending email via the Capture Express email client you will need to insert your SMTP server information, authentication if required by the server, your name and return email address into the Preferences. Once the proper configuration information has been entered (it only needs to be done once), images can be sent via the Capture Express email client.
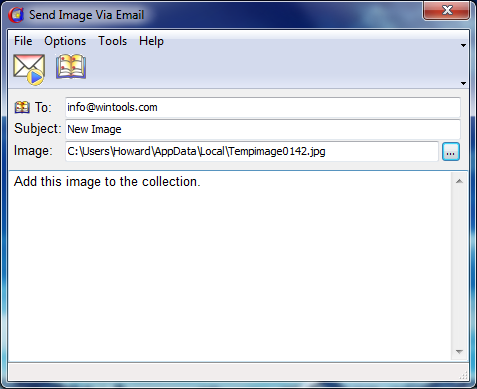
The above email send window is similar to other email programs. Enter the requested information and click on the Send button or File | Send to send the message. Click on File | Close or click on the X in the upper right hand corner to close the Send Image via Email window and not send the message.
To:
Insert the email address of the person who is to receive the image. You can either type the address or click on the button next to To: and select a name from the Capture Express address book.
CC:
Insert an email address on this line if you want to copy the email message to another person.
BCC:
Insert an email address on this line if you want to blind carbon copy the email message to another person. In this case the original recipient will not know that the message was also sent to the blind carbon copy recipient.
Subject
Insert the subject of the email into this field.
Image
The captured image is sent as a file attachment. The file is automatically listed in this field. The default file name displays in the Image field. The default file name and type are set in the Preferences section of the program.
Message Text
Add any comments to the email message to accompany the image in the blank edit field.
Note: The Send Image via Email window also opens even if you choose to send the images with your own email client. Insert the recipient email address, subject and a message. Click on the Send button to open your email client. The information you inserted in the Send Image via Email window is placed in your email client new message window.
Try Again
If the capture didn't turn out as well as hoped for, press the Try Again button to restart the capture. This eliminates the need to click on the Done or Cancel button to quit the capture and start again from scratch.